9.1 Getting Set Up
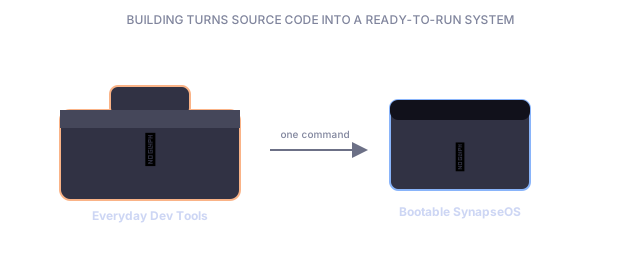
Turning the SynapseOS source code into a bootable system requires a small set of standard, widely-used developer tools — the same kinds of tools professional software teams use every day, freely available for Windows, macOS, and Linux. Nothing exotic or custom is required to get started; the project's setup instructions list the exact names of the tools needed for each computer type.
9.2 Building the System
"Building" means turning the human-readable source code into an actual runnable program — similar to how a architectural blueprint gets turned into a finished building. For SynapseOS, this single step:
- Downloads the small bootloader helper program the first time it's needed
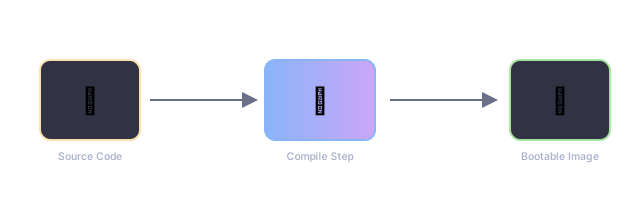
- Compiles every part of the system into one finished file
- Packages that file into a bootable disc image, ready to run in a virtual machine or write to a USB drive
From there, a single follow-up command launches that disc image inside a virtual machine on your own computer, so you can see SynapseOS running without touching any real hardware.
9.3 Making Your Own Mini-App
Because every part of SynapseOS is baked directly into the one system file (see Chapter 2), adding a small new program means writing a bit of code that asks the desktop for a window, then draws whatever you like inside it. There's no separate "install an app" step the way there is on a phone — your addition becomes a permanent part of the system the next time it's built.
9.4 Extending the System
Right now, any part of SynapseOS can directly call any other part (see Chapter 4 → Programs Talking to the System). A more advanced future version could introduce a formal "request window" that ordinary programs go through instead — the same design most other operating systems use, and a well-understood next step for a project at this stage.
9.5 Supporting New Hardware
A driver is a small piece of code that knows how to talk to one specific kind of hardware — think of it as a translator that lets the rest of the system speak to a device without needing to know its specific quirks. Adding support for a new piece of hardware to SynapseOS generally means:
- Finding the device automatically among everything plugged into the computer.
- Learning the small "control panel" of settings that particular device exposes.
- Teaching the system what to do when that device signals for attention.
- Turning the device on and confirming it's working.
9.6 Contributing to the Core
Adding an entirely new capability to SynapseOS's core follows the same philosophy described in Chapter 1 → Our Guiding Principles: keep it in its own clearly labeled area, add it to the master startup checklist at the right point, and make sure it reports its status to the diagnostic log like everything else.
9.7 Finding and Fixing Problems
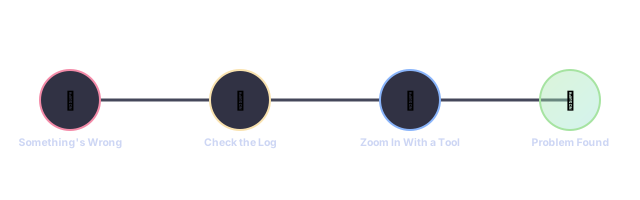
When something doesn't work as expected, developers lean on a few tools:
Common Early Hiccups
| What You Might See | Likely Cause |
|---|---|
| A message about a version mismatch during startup | An old build lying around; rebuilding from scratch usually fixes it |
| Black screen with no diagnostic messages at all | Something in the very earliest startup steps failed |
| The system restarts unexpectedly right after enabling interrupts | Usually a sign the interrupt setup needs another look |
| The screen turns on but stays completely black | The graphics handoff from the bootloader wasn't completed correctly |
9.8 Making Sure It Works
Because SynapseOS doesn't run inside another operating system, testing means starting the whole system in a virtual machine and watching the diagnostic log scroll by, checking that every expected step completes without an error message. New sound and image files can also be converted into a format the build process understands and folded directly into the system.